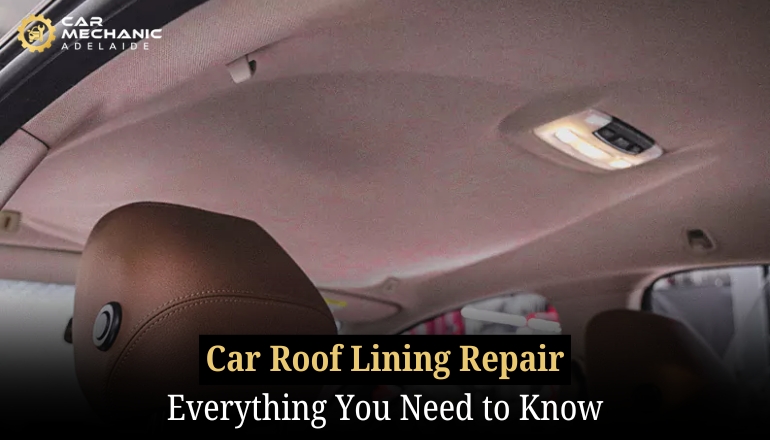
Imagine driving your car peacefully and suddenly feeling something brushing on your head. The problem you are looking at here is nothing but a sagging car roof lining. This thing is not just an eyesore but can also be a potential distraction for drivers.
If your car has a similar issue, consider getting a proper car roof lining repair and fixing the issue. This is your sure-shot way to enhance your car’s interiors and also avoid any potential distraction while driving.
But a car interior roof repair is not as easy as you would want it to be. You must take a proper approach with the right tools to fix it for good. If this interests you, then continue reading as we learn more about these repairs.
Why Does a Car Roof Lining Sag Anyway?
Before getting any professional car repair for a sagging roof lining, it is important to understand why it happens in the first place. In most cases, a car roof lining is made of a foam backing and is covered by a fabric.
Given enough time, heat and humidity can cause the breakdown of the adhesive holding things in place. This is when gravity springs into action and results in gradual roof lining sagging. This issue is quite common as your car gets older, but the good news is you can fix it with proper auto repair services.
How to Fix a Sagging Roof Lining?
A sagging car roof lining is as annoying as things. But the good news is that fixing this with proper car roof lining repairs is quite easy with the right approach. So, here are some of the steps you can follow to fix this issue and restore the aesthetics of the car interior.
Step 1: Assess the Extent of Damage
The first thing you must do is assess the overall extent of the damage. This is important because it will determine whether you need DIY car roof lining repair or professional services. A DIY approach might work if the sagging is limited to a small area, but not if the damage is more than you can handle.
Step 2: Prepare for the Fix
Now, considering you have taken the responsibility to fix the problem without the help of a professional car mechanic adelaide. This means you will need to gather the necessary tools and equipment you need to fix this issue, and these things include:
- Straight pins or thumbtacks
- Spray adhesive for automotive use
- A small roller or brush
- A pair of scissors
- Necessary cleaning supplies
- A bit of patience and persistence
Always prioritise gathering the right equipment to get things done properly and repair car roof lining properly.
Step 3: Prepare a Proper Workspace
With all the equipment in place, it is time to set up a proper workspace for roof lining repair to get things done. Spraying the adhesive properly is important for avoiding unnecessary mess and protecting the car’s interior.
It is important that you remove items from the car interior repair space that might get in your way and cover the seats and floor with plastic or sheets. Make sure that the place you work in has proper ventilation so that the fumes don’t make things worse for you.
Step 4: Start by Addressing Smaller Sags
Now that you have a proper workspace, it is time to start addressing the smaller sags first without having to go to an auto car mechanic. You can use the pin-up strategy to clean the area properly before pushing the sagging material back against the roof.
You can use thumbtacks or straight pins to hold the material in place after the car accessory installation. The pin should pass through the fabric and into the foam backing on the roof. This is a great way to address smaller sags, but it is not a permanent solution.
Step 5: Address the Larger Sags
After taking care of the smaller sags, it is time to shift your focus to larger areas that need car roof lining repair. For this, you must peel the fabric back and clean the roof and the back side of the fabric for proper adhesion.
Then, you must apply the adhesion spray on both surfaces in a thin and even manner as per the manufacturer’s instructions. Make sure the adhesive is tacky before pressing the fabric back into place. This could save you the time and hassle of taking your car for a logbook service Adelaide.
Step 6: Let the Adhesive Set
Now that you have taken care of both small and large sags, it is important to give it some time to set. It is very important that you give the adhesive enough time to set properly to avoid the cost needed to replace car roof lining.
In most cases, this can take a few hours, but it is recommended that you leave it as it is overnight to ensure it sets properly. You can then use a broom handle or pins to retain the pressure on the area you have repaired and save on the roof lining replacement cost for good.
Step 7: Take the Necessary Preventive Measures
Now that the car’s roof lining is in its proper place, it is also important to ensure that it stays this way. You must take the necessary preventive steps and measures to ensure that it remains as it is without having to schedule a car repair service.
You need not do much here, but simply ensuring regular cleaning can go a long way in preserving the adhesive and preventing it from weakening. If you start noticing any sags again, it is better that you address the issue before it gets out of hand again.
Also read: Top 10 Must-Have Accessories For Your Car (2025)
Final Thoughts
The task of repairing your car’s roof lining should not be much of a challenge with the right approach. All you need to do is follow the aforementioned steps and get the job done in no time while getting the perks of long-lasting results. In case this feels like too much of a hassle for you, feel free to reach out to experts at automotive repair shops and fix the issue properly.